My Australian handmade wooden pens make for the perfect gift
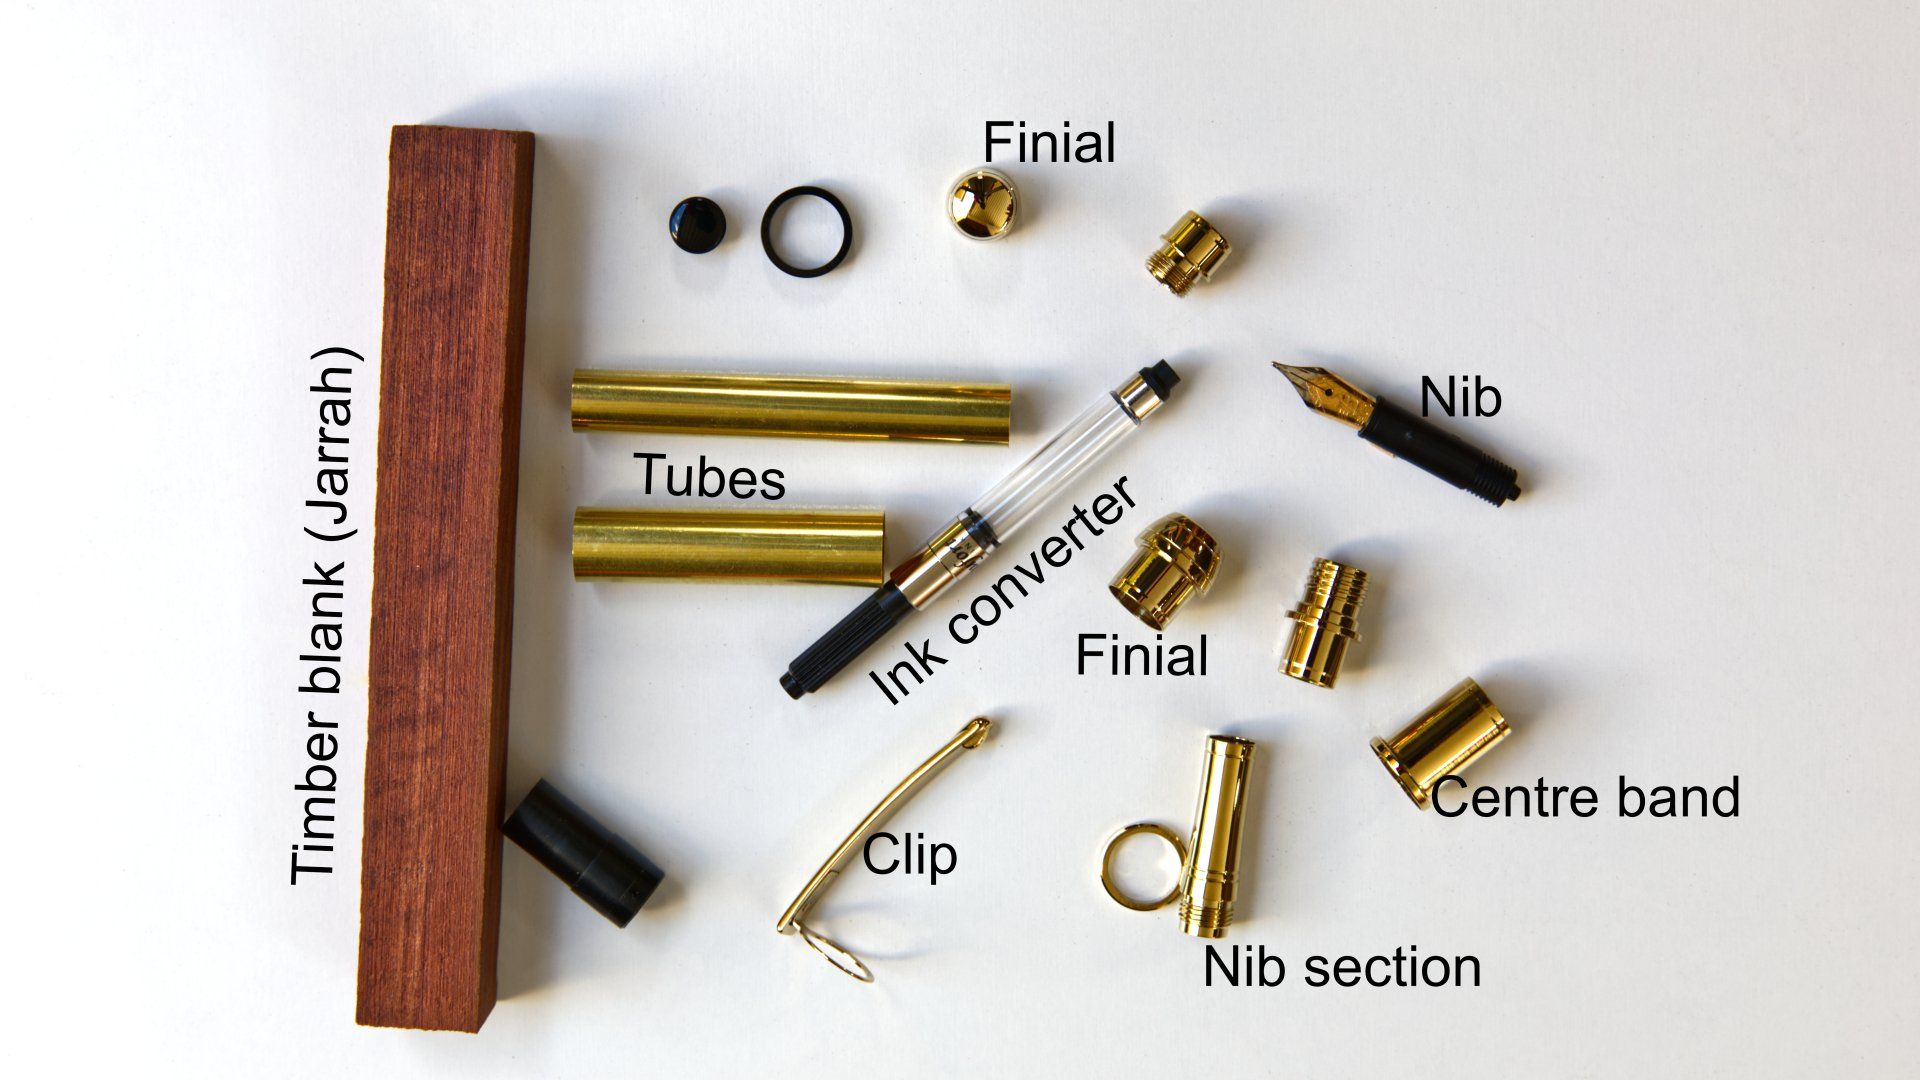
Each pen I make is made up of a number of parts. There is the 'blank'. The blank is usually timber and often acrylic. On occasion it may be something a little more unusual. There is also the pen mechanism, which is commonly sold as a ‘kit’. Kit is a little confusing as there is a lot of work to do. It is not like putting together a model aeroplane.
The parts for a Mistral fountain pen.
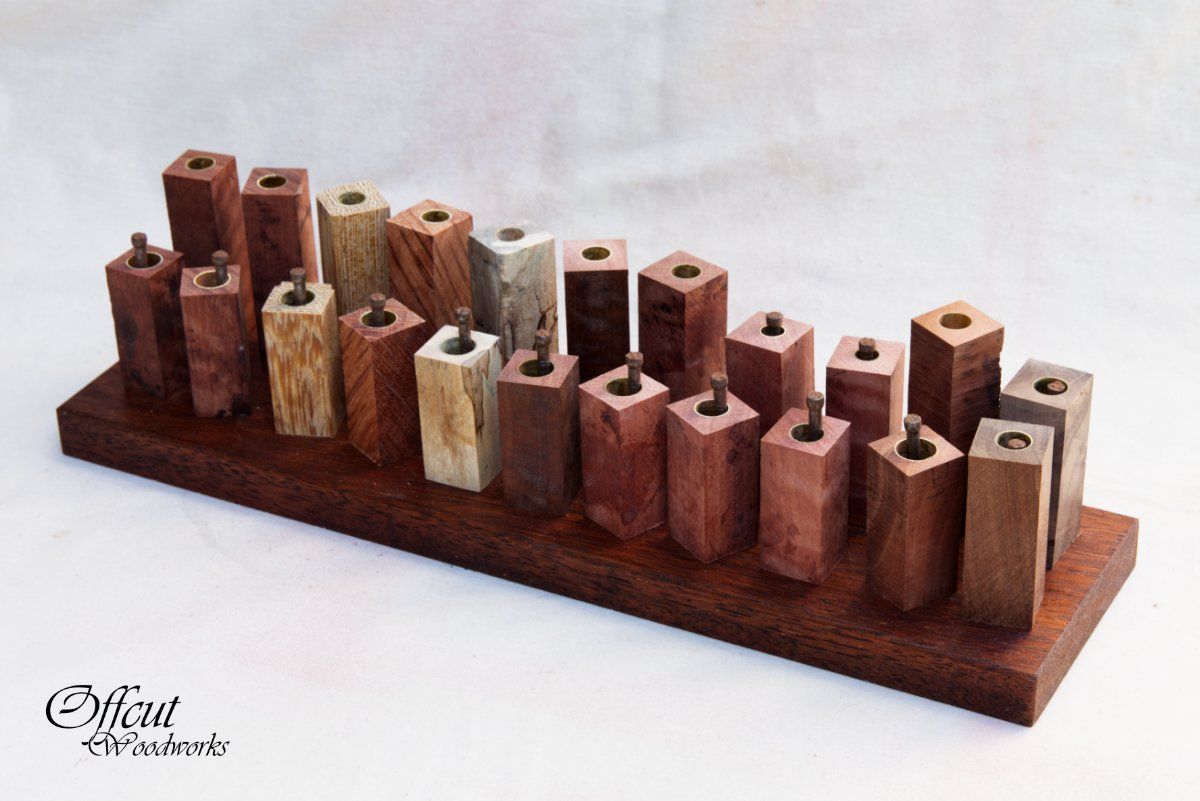
Perfect wood for a perfect pen
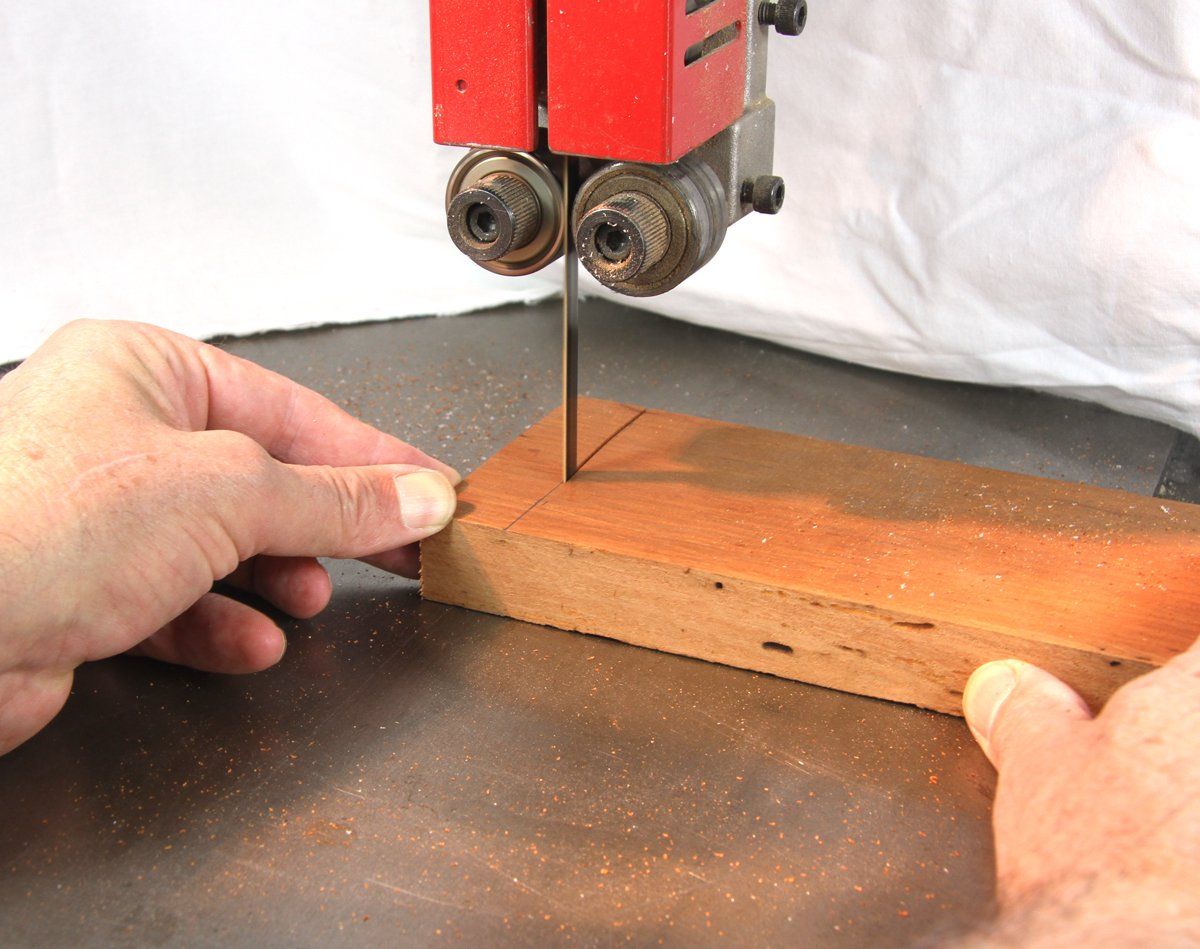
Starting the process of making a pen
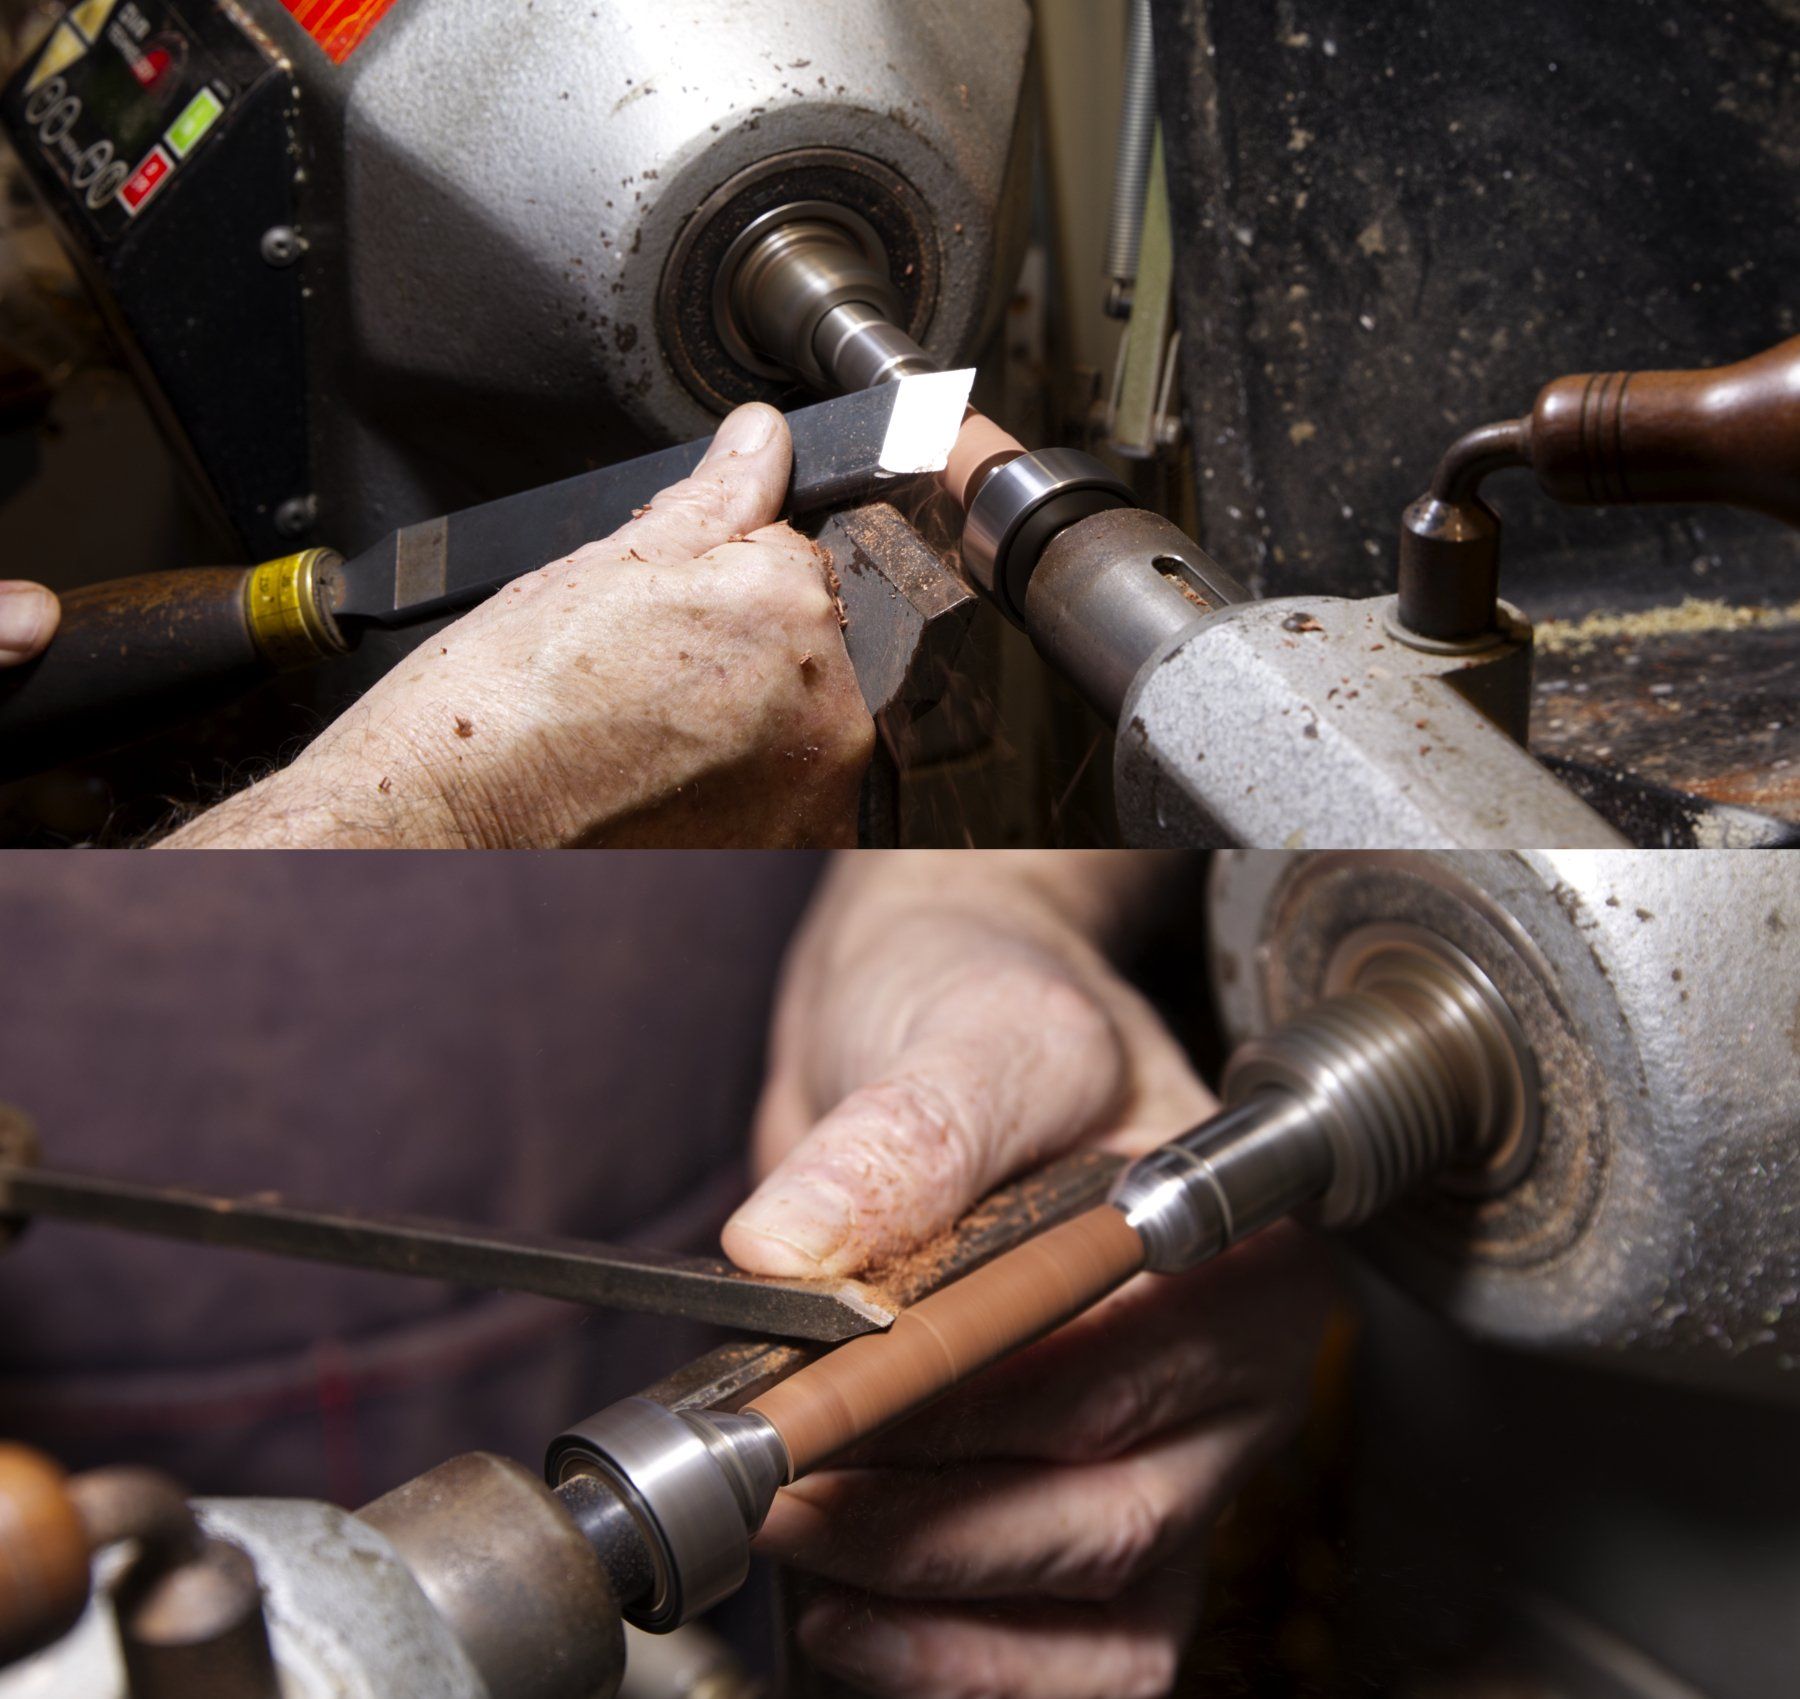
After I've selected the blank and the required kit I get started on the manufacturing process. An appropriate sized hole is drilled down the centre of the pen blank. A brass tube is then glued into the blank. On our right we see a number of timber pen blanks, glued up, trimmed to size and ready to turn. I tend to prepare a number of pen blanks at a time.
Turning
The blank is turned to size. This may sound easy, but it is this step that determines whether a particular piece of timber will fulfill its pen potential. I typically use a roughing gouge and a skew chisel. Unfortunately, there are some pieces of timber that do not wish to co-operate and end up as firewood, and we just have to start again. After turning, I usually sand from 240 grit to 400 or 500 grit.
Finishing
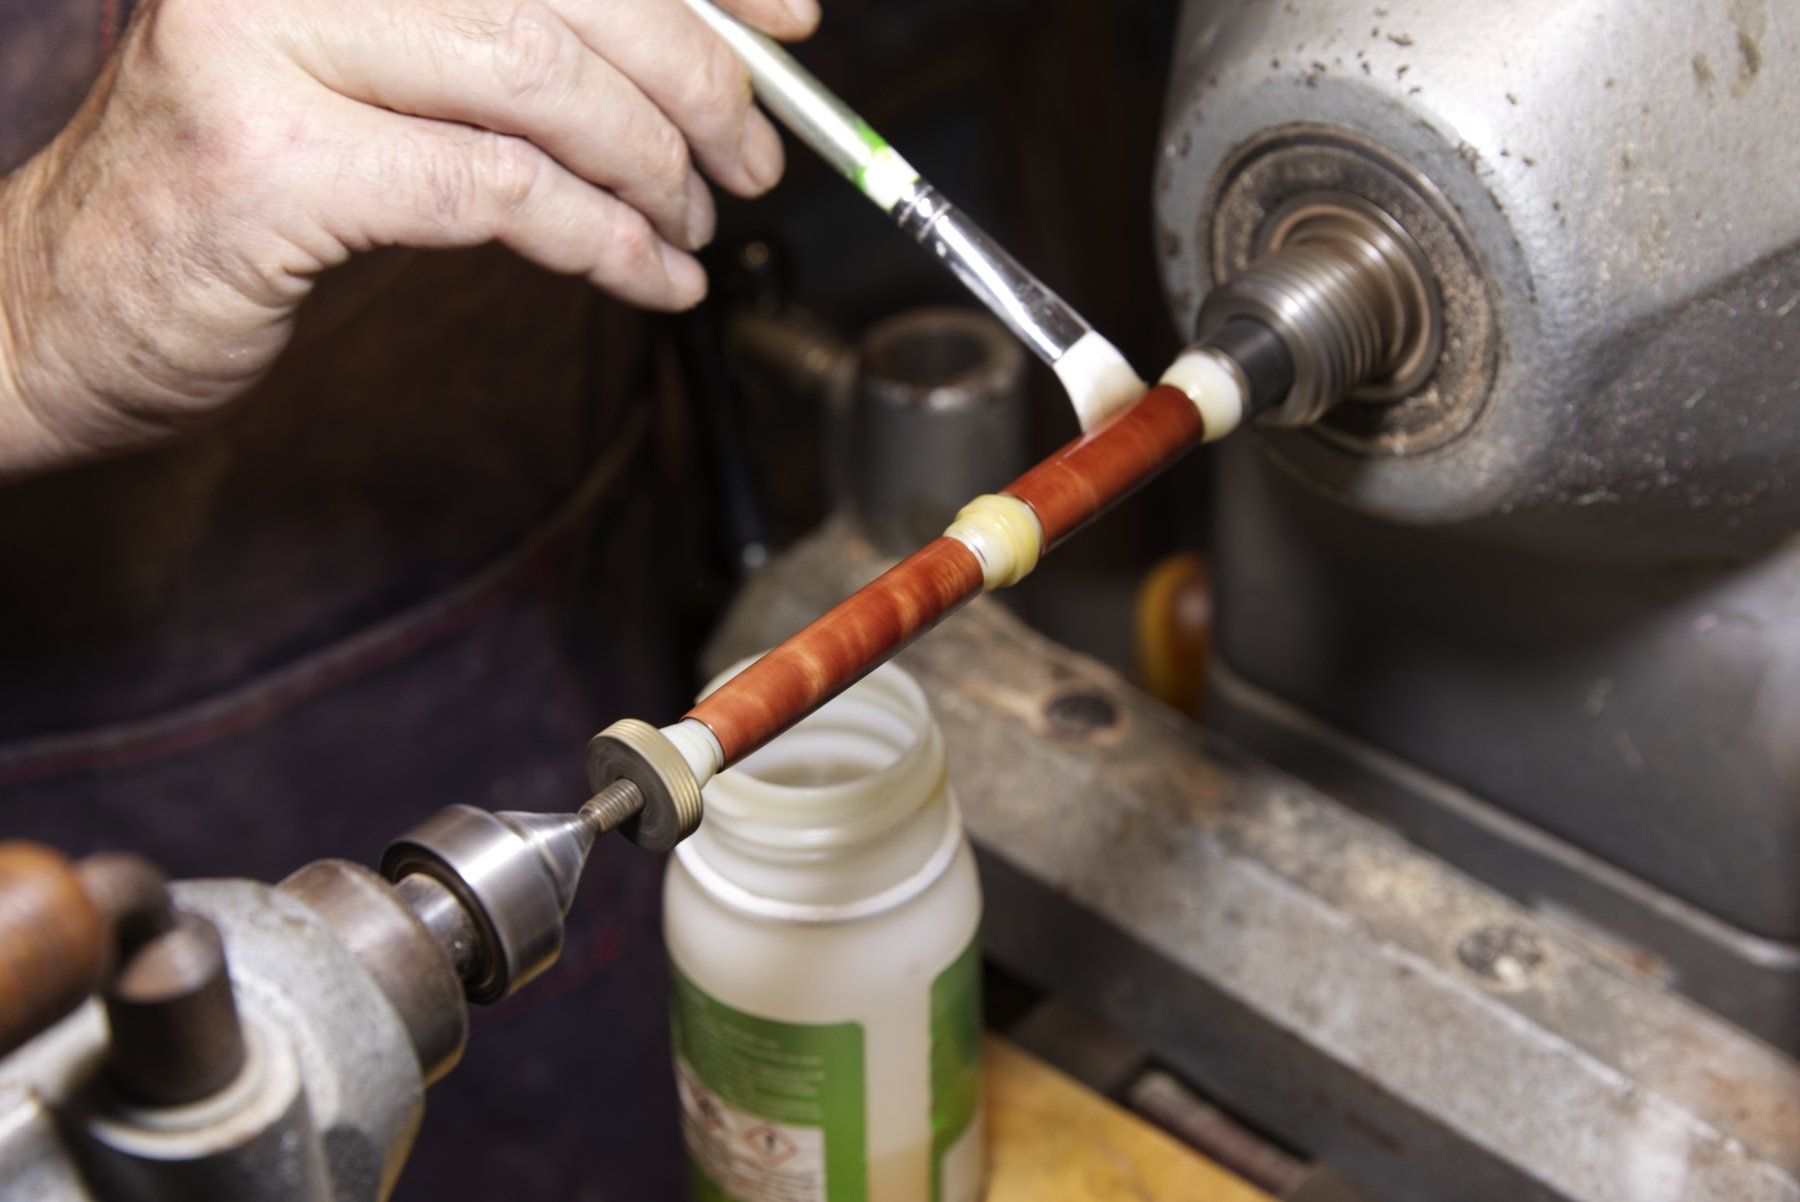
Depending on the finish used, a sanding sealer may be needed. I use a nitrocellulose product. After sealing, the pen is again fine sanded and then the finish is applied. I typically use a specially formulated two part finish. Four coats, in some cases more, are applied. I wait 48 hours to let the finished fully cure. A finish is not required for an acrylic pen.
A small number of pens are finished with a friction polish. This gives a more natural finish and is not as glossy. It is also applied in a totally different manner.
After the finish has fully cured, the pen blank is polished. Polishing involves wet sanding using special fine sanding pads up to 12,000 grit (approx 2 micron). I then polish using a polishing compound. Acrylic pens are polished in a similar fashion and finally buffed on a buffing wheel. The pen is then assembled.
The final step in a handmade pen
Essentially the pen parts are pressed together using a purpose built press. After I make sure that the pen functions, I usually take a photo or two. In my first ever pen the cartridge was faulty and didn’t work. This, of course, was only discovered after I had proudly presented the pen to my wife!
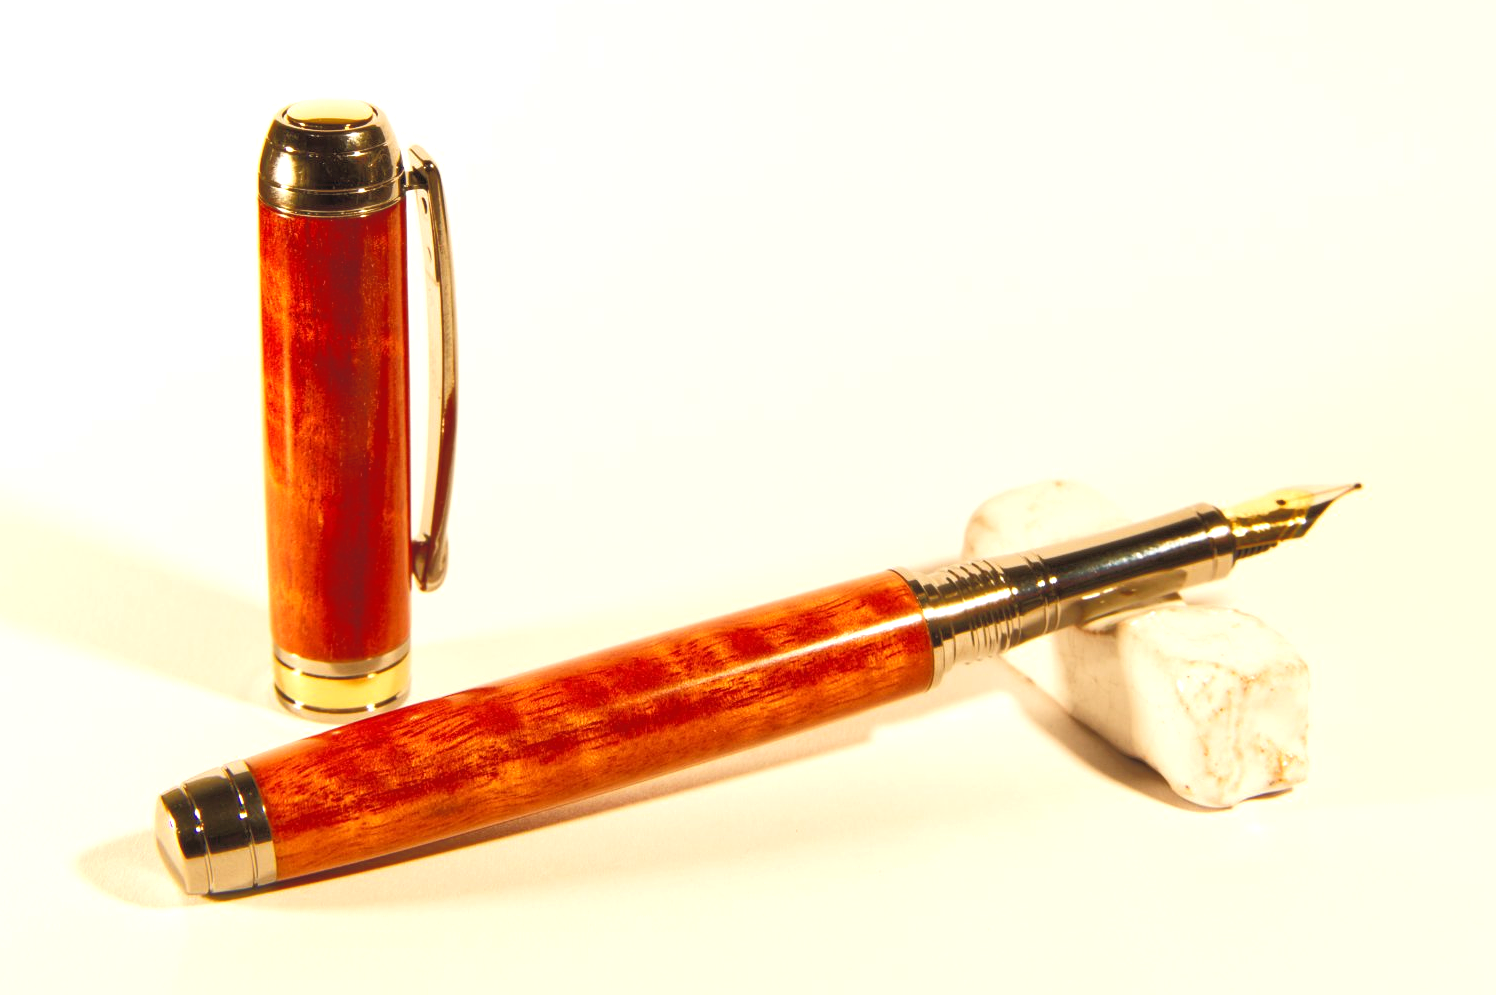
And the finished pen, a Jarrah Mistral. One of a matched set of four, fountain, rollerball, ballpoint and pencil.